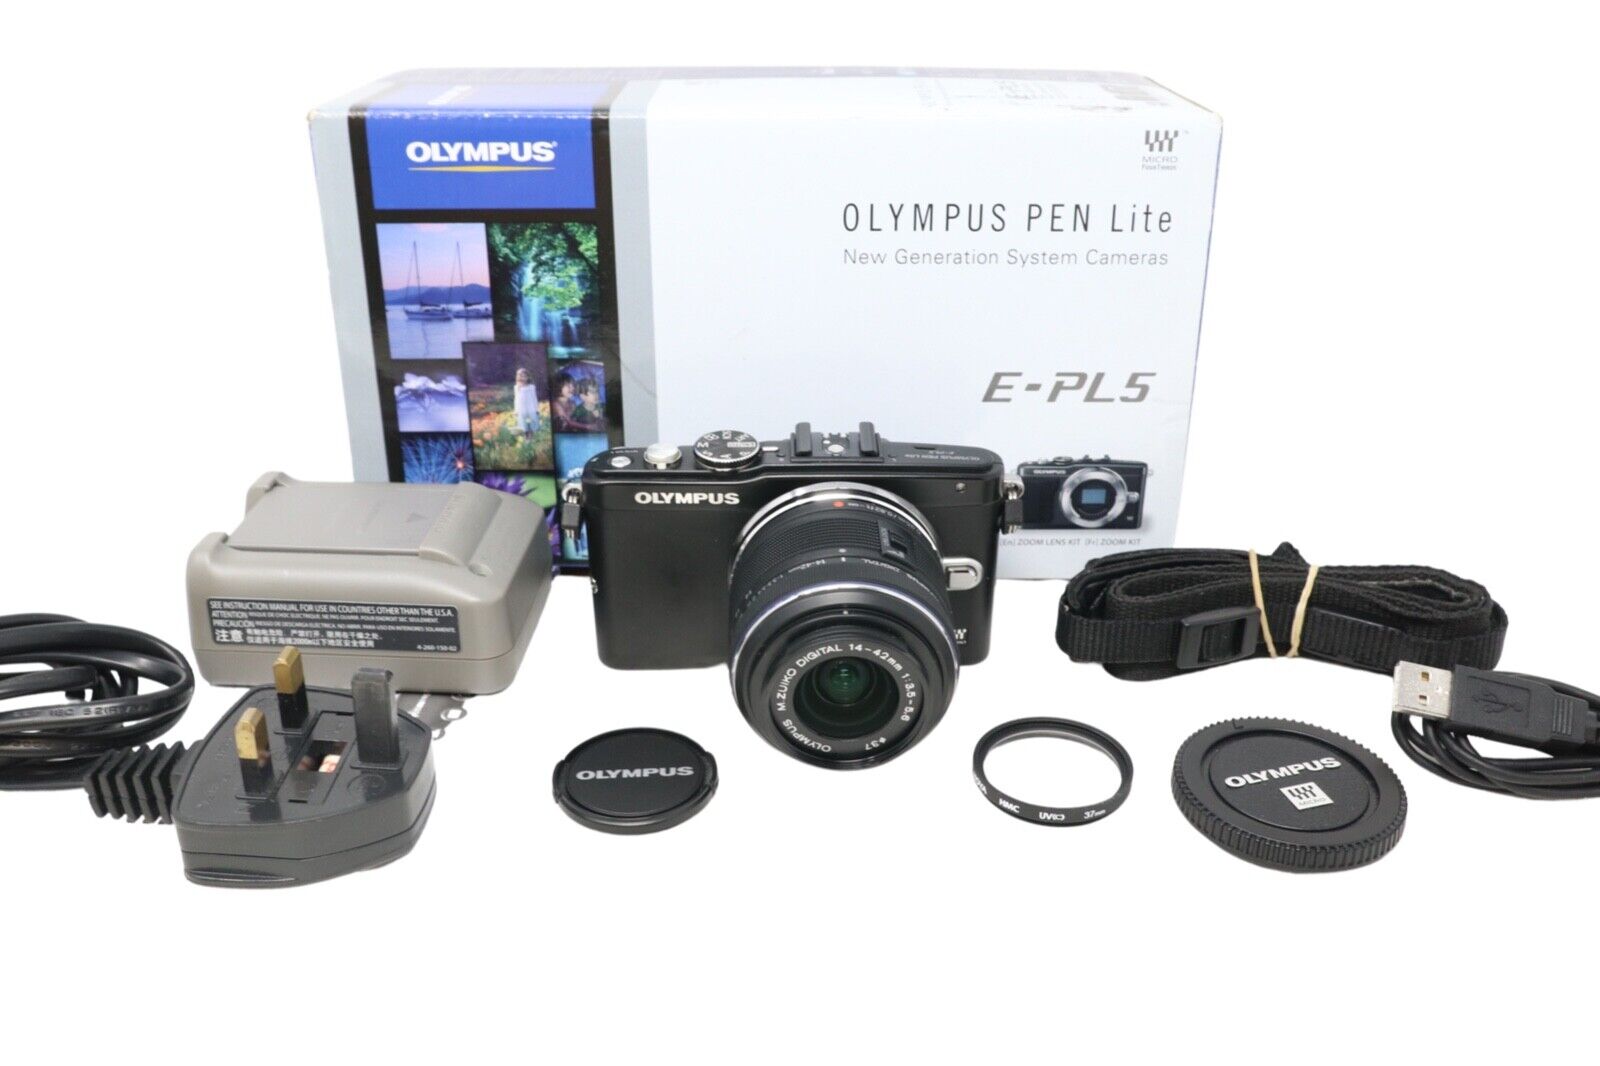
Olympus PEN E-PL5.
The Olympus PEN E-PL5 comes in a kit (although just the body can be bought separately). This is a 16 MP (Mega Pixel) sensored camera, which is classed as an Entry Level Mirrorless camera. Often called the "PEN lite", it is a great place to start for anyone trying out digital photography for the first time. The M4/3 (Micro Four Thirds) sensor has a crop ratio of 2, which means that it is half the size of a Full Frame DSLR. What this means in real terms is that the lens equivalent is half of what a full frame camera would be - 24mm m4/3 = 48mm FF, which also makes M4/3 lenses lighter to carry around. It is light weight and still has quite a few features which will hone basic photography skills. As well as the Auto mode for point'n'shoot pictures, it also has Apature Priority, Shutter Priority, Manual Mode, as well as a full range of Scene and Art presets. There is also a Video Mode for blogg footage if you wish to take that direction. In fact, there is very little you can't do with this camera. The kit comes complete with a M.ZUIKO Digital 14-42mm Lens and a M.ZUIKO Digital 40-150mm Lens, (which is the equivalent of 28-84mm & 80-300mm in Full Frame terms). The box is supplied with a small Flash Unit, which slots onto the Hotshoe, A Charging Unit & a Camera Strap, making this a full kit (less the SD Card) to take out straight away.
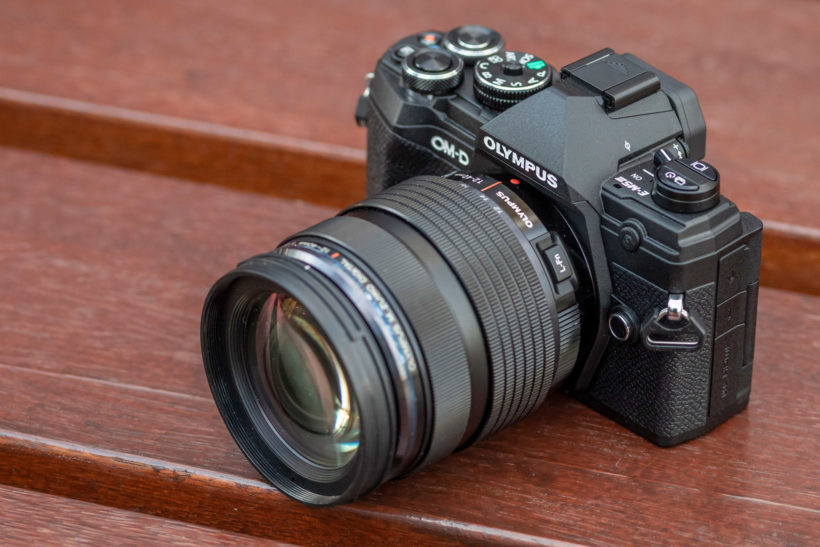
Olympus OM-D E-M5 mark iii.
The Olympus OM-D E-M5 mark iii is the latest version of the mid-ranged Olympus cameras, The Flagship range being the M1 and the Lower range being the M10. However, the M5 has nearly all the specs & features of the M1 range. Although the sensor size is the same as the Olympus PEN (being M4/3), this packs more Mega Pixels in to it's 20MP sensor, making the size of the produced image much clearer. This camera also has a dedicated Bulb Mode, which includes such features as Live Time & Live Composite, making Light Painting and other specialised photography easier. Many of my earlier photos utilised the kit lenses from the PEN lite camera kit, but I have since bought 2 other lenses, namely, M.Zuiko Digital 75-300mm (equivelant to 150-600mm in full frame), and a LUMIX 12-60mm f2.8 (equivelant to 24-120mm in full frame). These two lenses cover the distance I require for Landscapes, Portraits, Wildlife & Astrophotography. For Macro Photography I have also bought Macro Tubes, which bring the focal distance closer for extreme closeups. These tubes are relatively inexpensive and are quite effective (even having the ability to Auto-Focus).
Ancilliaries.
The Ancilliaries are an important part of every photographers arsenal, making difficult or impossible shots reasonably easy.
As already mentioned before, Macro Tubes can make all the difference between getting a great close-up. Each lens has it's own minimum focal distance, so, if you want to get closer to a subject than the lens will allow, you have the option of an expensive Macro Lens, or resonably cheap tubes. These change the distance between the sensor and the subject, allowing you to get extreme close-up shots.
Next on the list are Lens Hoods, which block direct sunlight from reaching the lens and causing Sun-Flare. Although this phenomenon can be seen as "Artistic", they can often ruin an otherwise perfect picture. Lens Hoods come in various types & sizes, depending on your specific lens.
An ancilliary which every photographer should possess is a UV (Ultra Violet) Filter. These not only protect the front element of the lens, but also cut some of the harmful UV light from reaching sensitive parts of the lens. They just screw on to the fitting on the front of the lens, with another screw thread at the front of the filter to allow other filters to be added.
There are many types of photo in many types of scenario where a Polorising Filter will enhance a picture. It cuts glare from water shots, allowing the camera to see through the surface. It can also give scenery pictures more colour and contrast instead of a "washed-out" look. These Polorising filters are usually a circular design, screwing onto the front of the lens (or other UV filter), which makes them easy to fit & remove. Many are adjustable too, by turning the gnarled edge, allows you to chage the intensity of the filter.
Then, there are ND (Neutral Density) Filters. These vary in type and size, some being square, which have to be fitted into a special holder, but the majority of affordable ones are adjustable, round filters which also screw onto the front of the lens. As with the Polorising Filter, there is a gnarled edge which can be turned to adjust the intensity of the filter. ND Filters are great for slowing down the shutter speed, and they work by restricting the amount of light reaching the sensor, therefore, allowing the photographer to get 1 second - 30 second exposures during the day - perfect for softening the look of water surface or a waterfall. Bear in mind that, for the likes of Lens Hoods & various Filters, you need to buy the size specifically for your lens size (which can be seen on the front edge of the lens).
Next on our list is Intervalometers, which are used to automatically take a programmable aamount of pictures, with a programmable amount of time between pictures, and a programmable shutter speed of the images. All of the Intervalometers I have looked at work in a similar manner, so you don't have to buy your camera brand version, just as long as you have the correct plug to fit the port on your particular camera. If the intervalometer has a different plug to the one you require, simply look for a suitable adaptor cable. Of course, I am talking about cabled Intervalometers, but there are also wireless versions if you want to go 'All In', but these can let you down at an critical moment by having a flat battery midway through a set of image captures. I tend to rely on a wired connection for this reason. Another useful feature of this device is that you can capture an image without touching your camera at all. Near all modern cameras have a Time Delay feature, but an intervalometer could allow you to get into a scene while the timer it waiting for the first image. They are certainly worth looking at.
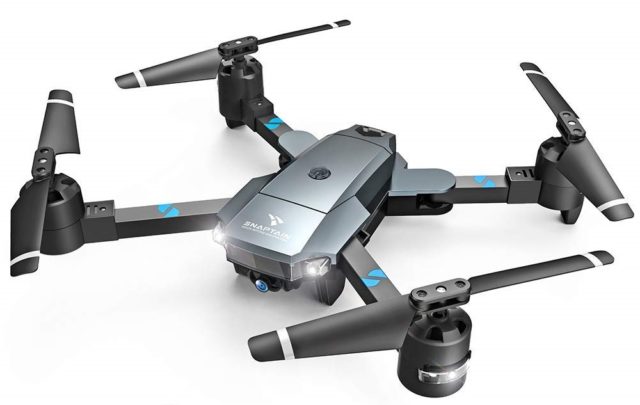
Snaptain A15F
The Snaptain Drone is a reasonably inexpensive craft, which can be purchased from many outlets. The controls are either via the supplied controller, or through a compatible smart phone (Android or Apple).
The camera used for the capture of still images and video files is taken with the use of it's built in 1080p front camera.
The drone itself has the capability to take moving or still images either through buttons on the controller, or via hand commands picked up by the camera. It can track/follow a target which has been signalled to the drone - plus several other features which many of todays drones have in common. The camera itself can only be tilted up & down, so it is important to know where the subject will be to allow the correct position before take-off.
For such an inexpensive drone, the features are fairly substantial. The Snaptain does not have the range of drones in the top end of the market, however, for the average enthuiast, this (& other similar drones) give good value, as you can see from the images and video in the Drone Captures section.